What is an Unmanned Aerial System (UAS)? According to the FAA, "A UAS is the unmanned aircraft (UA) and all of the associated support equipment, control station, data links, telemetry, communications and navigation equipment, etc., necessary to operate the unmanned aircraft." A UAS differs from a remote control (RC) vehicle, in that it is operates along a preplanned course without being directly controlled by the operator.
Methods:
Part 1: Demonstration Flight
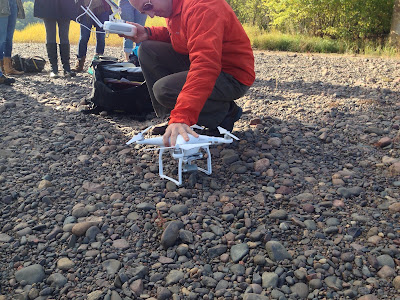 |
| Figure 1: The DJI Phantom. |
In order to introduce our class to major concepts and capabilities of UAS, our professor manually flew a DJI Phantom and captured aerial images under the university's footbridge. He selected this flight location, because there was a lot of open vertical space, and it wouldn't draw too much attention. Although it was technically being flown manually, the Phantom was fairly autonomous, hovering in position even when the operator completely removed their hands from the remote.
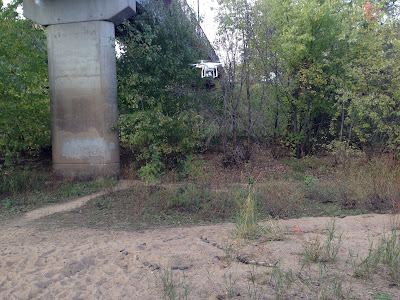 |
| Figure 2: The Phantom in flight. |
Part 2: Software
After the demonstration flight was completed, we returned to the lab to learn how to process imagery, generate flight plans used to fly automated missions, and gain better understanding of how different types of aerial vehicles operate.
Mission Planner:
Using the software "Mission Planner", I designed a flight plan based on the following scenario: "The City of Eau Claire would like to know how many tombstones Lakeview Cemetery contains, and wants to use UAS to find out. What camera should you use, and at what altitude should you fly?".
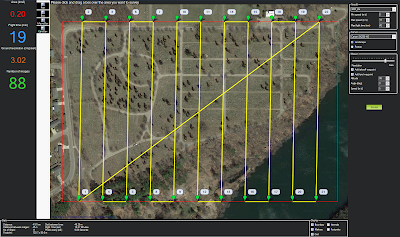 |
| Figure 3: Flight plan using the Canon SX230 HS, flying at 98m. |
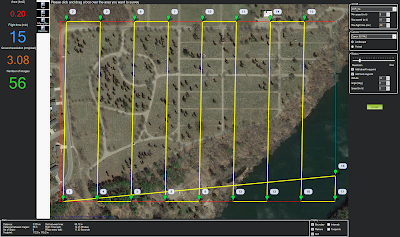 |
| Figure 4: Flight plan using the Canon 5d Mark II, flying at 98m. |
The 5d Mark II would seem like the natural choice, as it provides better quality in less time, however the devil is in the details. The the Canon SX230 HS weighs 223g and has an MSRP of $350. The camera body alone of the Canon 5d Mark II weighs 810g, a comparable lens (Canon EF 24mm 2.8 IS) weighs 280g, for a combined weight of 1,090g and with a combined cost of $1,800. These higher weights would require a UAV with a higher payload capacity, further increasing the cost.
Real Flight Flight Simulator:
Using the software "RealFlight 7.5" I gained experience flying both fixed-wing and multi rotor aircraft. I flew two different multi rotors: the Octocopter 1000 and the Tricopter 9000. The tricopter was extremely unstable, but very fast. The octocopter was very stable, and had an attached gimbal which allowed the adjustment of an attached DSLR camera mounted on the bottom of the craft. The tricopter did not perform well in situations where micro adjustments were needed, and it crashed often when attempting to navigate through tight locations like the obstacle course (Figure 5). The octocopter, while slower, responded extremely well to micro adjustments, and handled the obstacle course and the construction site with ease (Figure 6). The octocopter also performed extremely well in high-wind conditions (Figure 7).
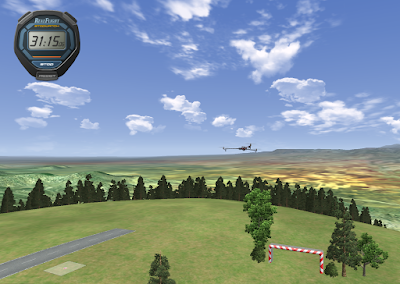 |
| Figure 5: The tricopter in flight. |
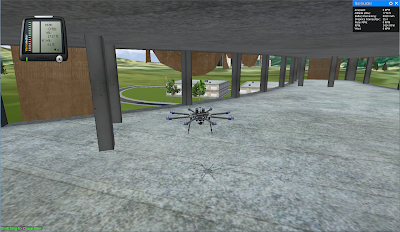 |
| Figure 6: Navigating the octocopter through the tight spaces of a construction site. |
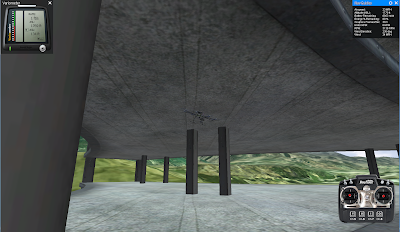 |
| Figure 7: The octocopter was stable even with a 15mph crosswind. |
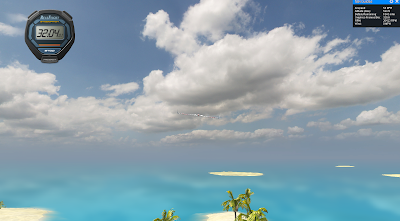 |
| Figure 8: The slinger in flight. |
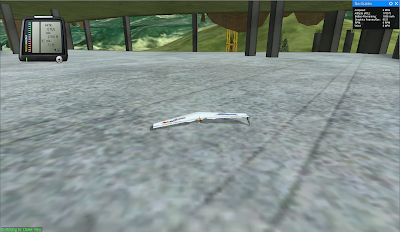 |
| Figure 9: The result of trying to navigate the construction site in Figure 8 with the slinger. |
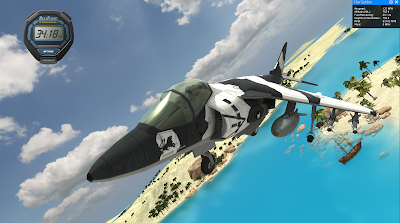 |
| Figure 10: The harrier's turbines are visible to the left of the bomb-shaped capsule under its wing. |
Pix4D was used to process imagery collected by the flight described in Part 1. The software analyzed the photographs, generated a point cloud, and created a DSM and Orthomosaic.
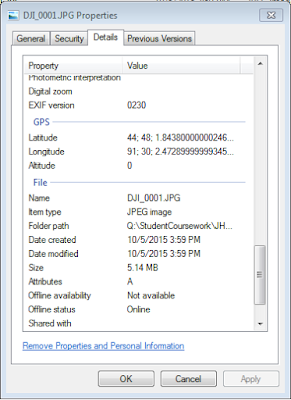 |
| Figure 11: The DJI Phantom's images contained GPS data Pix4D used this data to stich the images together and generate a point cloud, DSM, and an orthomosaic |
The point cloud could be used to add additional points to locations where existing LiDAR data has gaps, or generate extremely high-resolution TINs (Figure 12). The point cloud had extremely high point density of 0.007m (or .276in) (Figure 13). For comparison, the LiDAR point cloud the city obtained in 2013 for the same area has a point density of 0.45m (or 17.724in) (Figure 14).
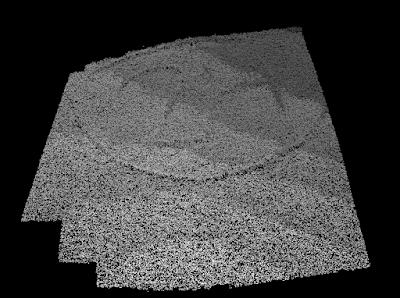 |
| Figure 12: The generated point cloud. |
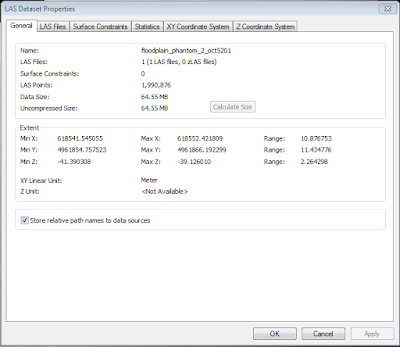 |
| Figure 13: Properties for the LasDataset created from the Phantom data. |
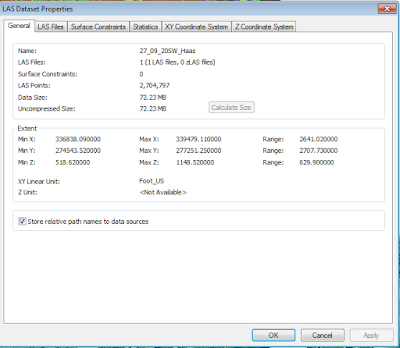 |
| Figure 14: Properties for the Las Dataset from the Citywide LiDAR survey. |
The DSM recorded subtle changed in topography extremely well, and has extremely small pixel sizes, allowing identification of individual rocks (Figure 16).
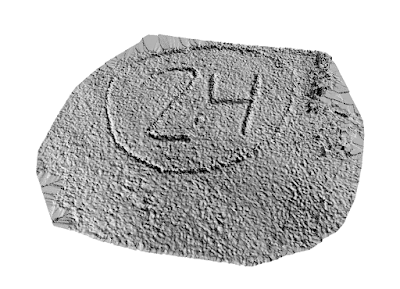 |
| Figure 12: A hillshade created from the DSM, to show the topography. |
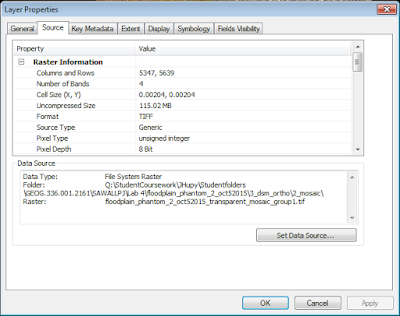 |
| Figure 16: The DSM and Ortho have the same incredibly small pixel size of 0.00204m This equates to 2.04mm or 0.08in. In 2013, the City obtained aerial imagery with pixel sizes of 3in |
The Orthomosaic allows for 3D models of the landscape to be created. It was created along with the DSM, so it matches perfectly with the DSM when viewed in 3D viewers, like ArcScene. The orthomosaic has 37.3 TIMES higher resolution than the existing aerial images the city obtained in 2013 (Figure 16).
Discussion:
"A mining company wants to get a better idea of the volume they remove each week. They don’t have the money for LiDAR, but want to engage in 3D analysis"
LiDAR may be the to-go buzzword for many in the industry these days, but UAS is the way of the future. UAV photogrammetry can obtain be used to calculate volumetrics with only 0.1% error when compared to LiDAR, and for a fraction of the price. I have prepared two example scenarios for you to help determine which type of vehicle will best suit your needs.
For performing volumetrics before and after blasting, we would suggest using a 3DR X8-M. The X8-M is a multirotor aircraft with: vertical takeoff and landing capabilities, an imaging speed of 8 m/sec, and great navigability in tight spaces. The only negative of this platform is its maximum flight time of 14 minutes, necessitating additional batteries if larger survey areas are desired.
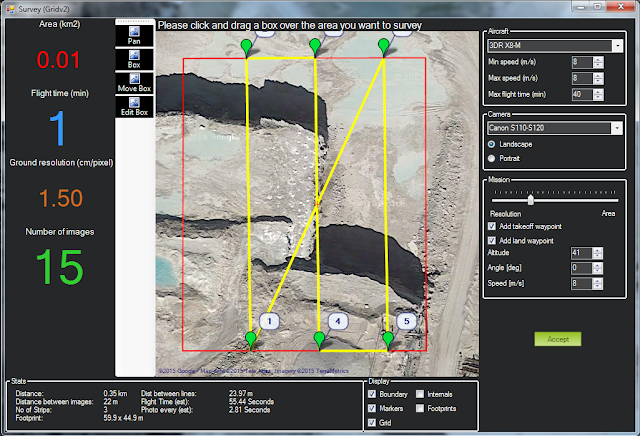 |
| Figure 17: Flying a small wall prior to blasting with the 3DR X8-M could be done in 1 minute, with 1.5cm/pixel ground resolution. |
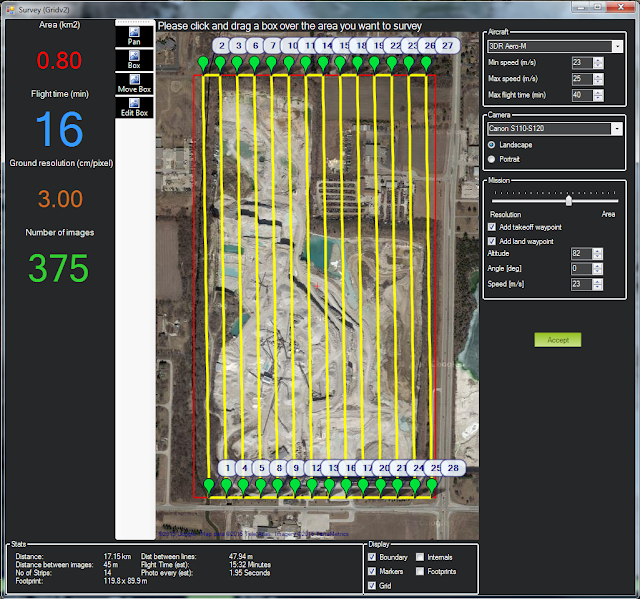 |
| Figure 18: Flying a 0.8 km2 area with the 3DR Aero-M can be done in 16 minutes, with 3.00cm/pixel ground resolution. |
After recording imagery, we will process it using Pix4D to create point clouds which will allow for the calculation of volumetric information. Your company will be able to know exactly how much material was moved by each blast, know the volume of your tailings piles, and know exactly how much the piles are growing each month. If you would like more information about how accurate UAV photogrammetry is when compared to LiDAR, click here.
More information can be found at the following links:
https://pix4d.com/mines-quarries/
http://blog.pix4d.com/post/127642506041/supporting-blasting-operations-with-uas
http://blog.pix4d.com/post/115946312406/accurate-volume-estimation-with-non-ideal-flight
Sources:
https://www.faa.gov/uas/faq/#qn1
No comments:
Post a Comment